
Step-by-Step Drywall Ceiling Repair
Step-by-Step Drywall Ceiling Repair
REPAIRING DRYWALL
MrWalls Drywall & Painting
11/28/20251 min read
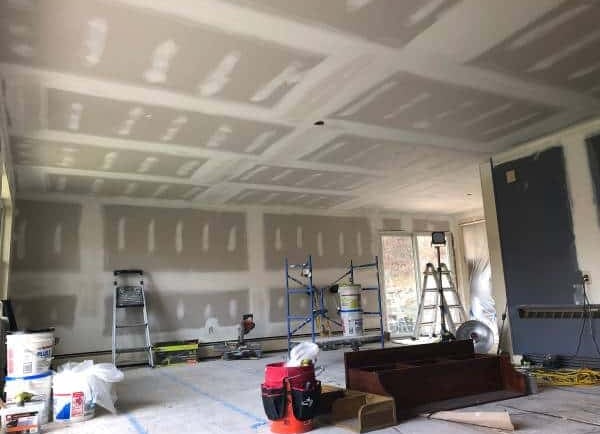
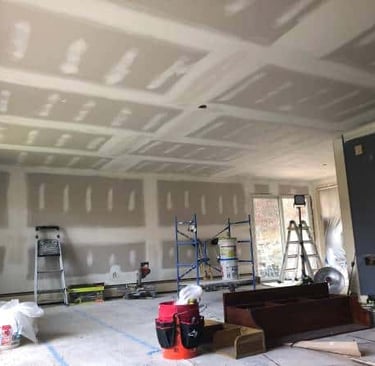
Step-by-Step Drywall Ceiling Repair
Step-by-step drywall ceiling repair ensures professional results even for first-time DIYers. Begin with safety: wear goggles, a dust mask, and use a sturdy ladder or scaffolding. Mark and cut out the damaged area in a clean rectangle utilizing a drywall saw. Screw a wood backing strip behind the existing drywall on both sides, then cut a new piece of drywall to fit snugly. Secure it with drywall screws, sinking them just below the surface. Apply mesh or paper tape over seams, then spread a thin layer of setting-type joint compound for faster drying. Feather outward 12–18 inches to hide the patch. After the first coat hardens, apply two to three more coats, widening each layer and sanding lightly. Match existing texture with spray cans, knockdown tools, or a stomp brush if needed. Finish with primer and ceiling paint applied with a roller on an extension pole. Following this methodical process delivers a seamless drywall ceiling repair that looks factory-perfect and lasts for decades.